How Adobe Real-Time CDP Improves Customer Journey
Customer data platforms (CDPs) are a new essential for today’s data-driven marketing world. These all-encompassing tools...

The Definitive Guide To First-Party Cookies In Adobe Analytics
Death of the 3rd party cookie is imminent and with Google’s decision to delay blocking of 3rd party cookies in its widely...

Modern Marketing Analytics and Metrics for Modern Marketers
Modern marketing teams can have countless marketing strategies to drive expected results, from social platforms,...

First Party Cookie vs Third Party- Rise of First Party Data
Traditionally, brands have relied on both 1st and 3rd party cookies to power their user experience and marketing...
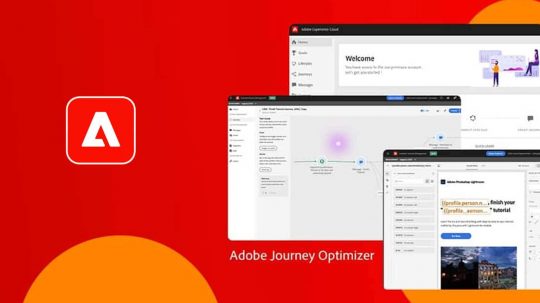
Adobe journey optimizer-realtime omnichannel journeys for better customer interaction
Please note that while Adobe Journey Optimizer is expected to be released later in 2021, we have only been given a...

How to Maximize your Marketo ROI
Measuring the effectiveness of any tool in terms of revenue contribution is key when finessing your marketing practices....

How Do Marketo Smart Campaigns Help Marketers?
Sending the right message is not magic, but the results can be. Knowing what the “right” message is can be tricky though;...

Marketo Engage Latest Update- Changes To Design Studio URLs
Adobe released details about the upcoming changes in Marketo Engage. Marketo Engage will gradually begin provisioning new...

Magento 2.4.2- A Contemporary Approach for ECommerce Business
Magento is always releasing upgrades and improvements to enhance user experience. This time, Magento 2.4.2 introduces...

Want to Become An Expert In Marketing Technology?
Marketing is an indispensable part of business, or of profitable business. The old days of marketing were limited to...
How To Plan And Migrate To Marketo
Migrating your current marketing automation to Marketo is an easy decision to make, but there is a huge volume of data,...
Adobe Summit 2021 – An Influential Event to Learn and Grow for Marketers and Technologists
After last year’s greatly successful Adobe Summit event
Get In Touch
Driving business growth by transforming challenges into opportunities with innovative, tailored solutions that deliver measurable results.